How to define a Data Model
From Business Process Management, BPM and Workflow Automation Wiki | BizAgi BPMS
<keywords content="keywords"> data model, create, application, diagram, table, attribute list, relationship, relation </keywords>
Contents |
How to define a Data Model
The Data Model is the structure Bizagi will use to access the process information and create forms. It could be considered the most important step in the construction.
Creating a 1-1 Data Model
Before creating the Bizagi Data Model the structure of the information to be used must be clear.
- Related Topics: For further information go to Process Data.
The following example relates to an Holiday Request Process in a company. An employee can access and make multiple Requests for holidays that must be approved by a supervisor. To create the Bizagi Data Model follow these steps:
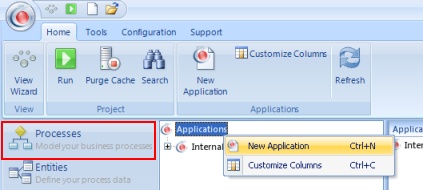
1. Create the application
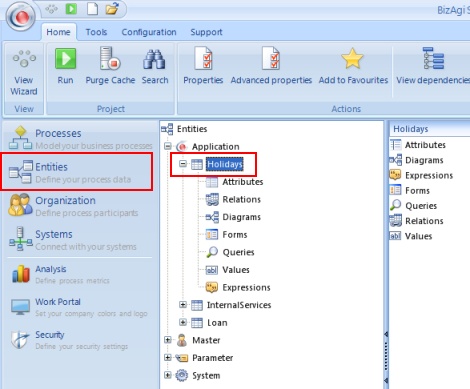
When creating the Application, an Application Entity will automatically be created with the same name as the Application.
2. Create a Diagram
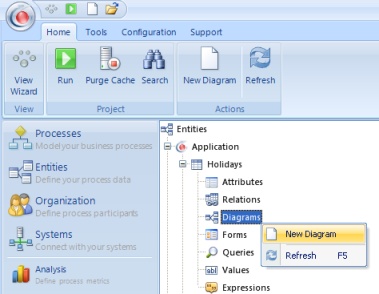
Within the Application Entity create a New Diagram as shown:
3. Create the associated tables
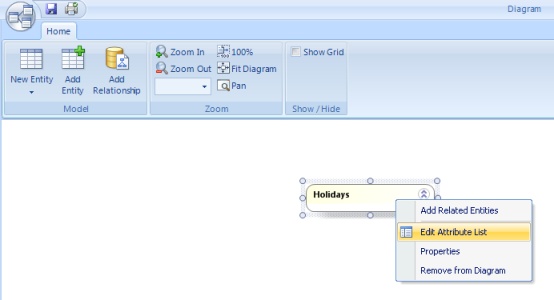
The Diagram will only show the Application Entity, to create related Master and Parameter Entities right click on it and select Edit Attribute List:
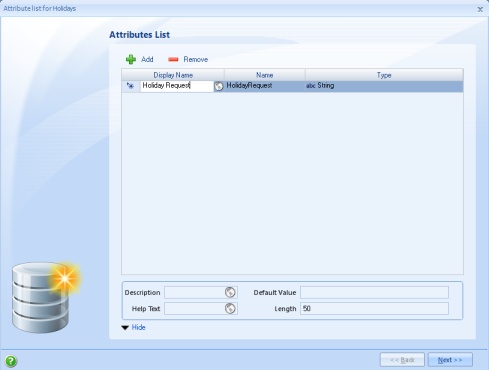
The Attribute list window appears. In it click the Add button and a new row is created. For the new attribute type a Display Name, the Name would be written automatically at the same time (it can be change later if desire).
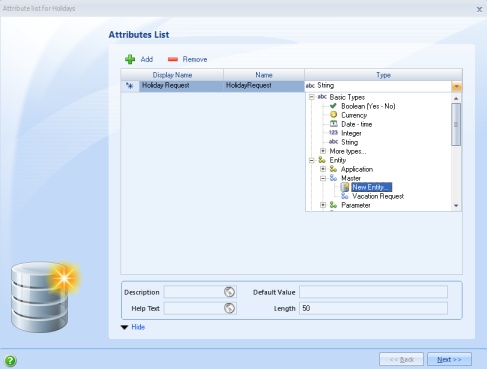
This attribute is meant to be related to a Master entity, to do this click in the Type column. First expand the Entity element (by clicking the plus sign aside) and then the Master element, in it select New Entity.
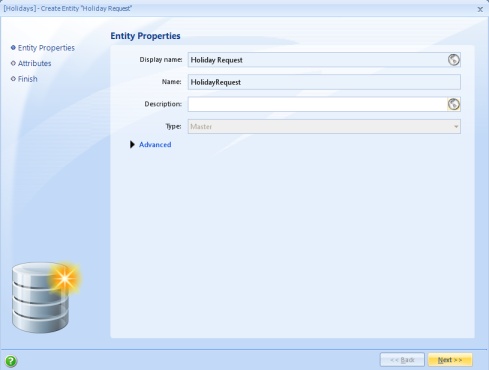
A new window for the new entity opens. The Display Name and Name are suggested to be as the attribute names but can be changed if wanted. Also optionally enter a Description and click Next.
4. Create the attributes
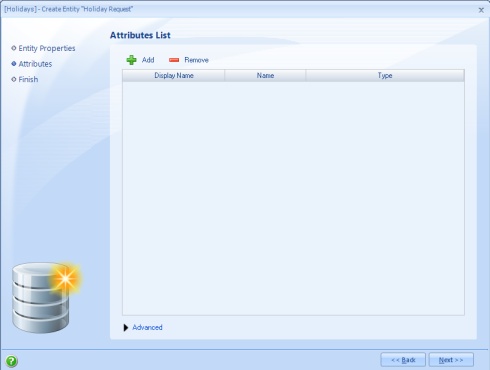
The following Attribute list presented is for the new entity.
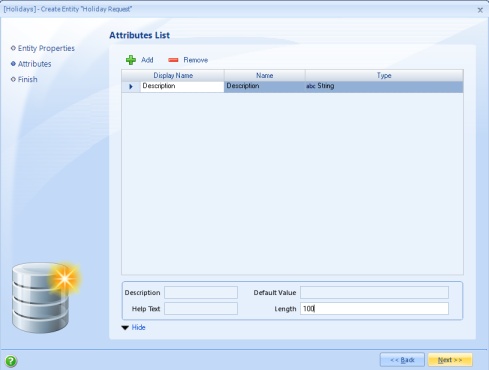
As before, click Add to create a new row. Then type the Display Name. The default type is String, so in this case, leave it and enter the Length (by default is 50). This would be the only attribute for the entity. Click Next.
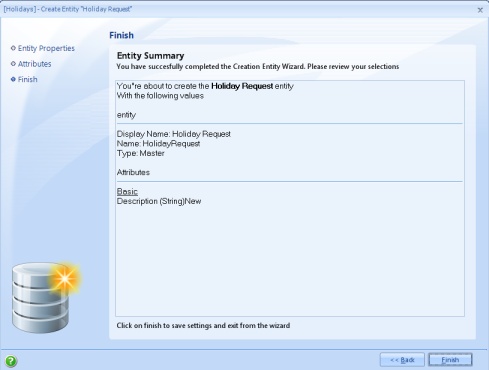
A summary of the entity's creation is shown, click Finish.
5. Create relationships
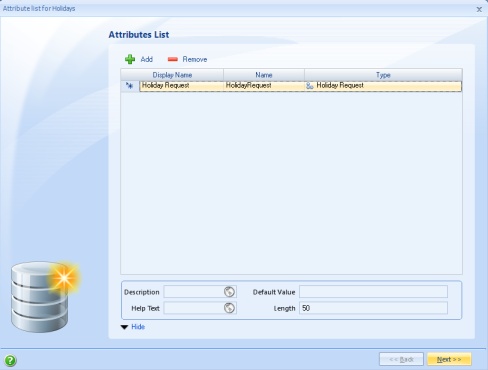
The new entity window will close and in the Application entity window this recently created entity would be related to the Application entity's attribute. Click Next to finish adding attributes.
Again a summary is presented. Finally click Finish. As a result the following data model is created. Save it by clicking the save icon and entering a Name, Display Name and click on the OK button in the window that opens up.
Creating a 1-n Data Model
The process is similar to the 1-1 Data Model. For the DayRequest entity, an employee can request several days, each day will be represented as a record in a 1-n relationship. The n Entity of the relationship would be the DayRequest Entity, which is known as the child Entity, the 1 Entity of the relationship would be the HolidayRequest, that will be called the parent Entity,
1. Create the 1-n relationship as an attribute in the parent Entity.
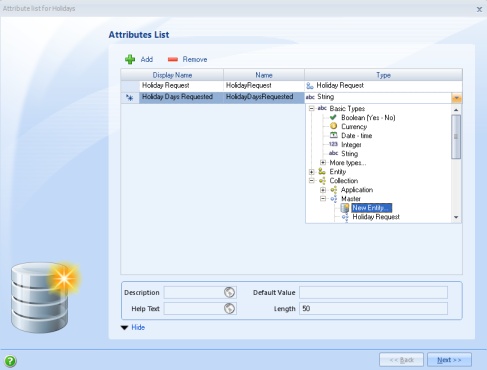
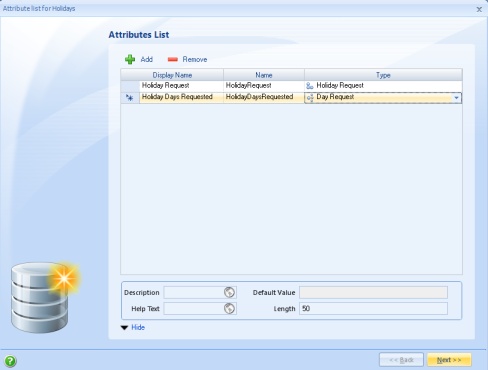
Edit the Attribute list for the Application entity. Click on the Add button and type a Display Name for the relationship. Open the Type column, expand the Collection element, then Master and select New Entity:
2. Create the new entity
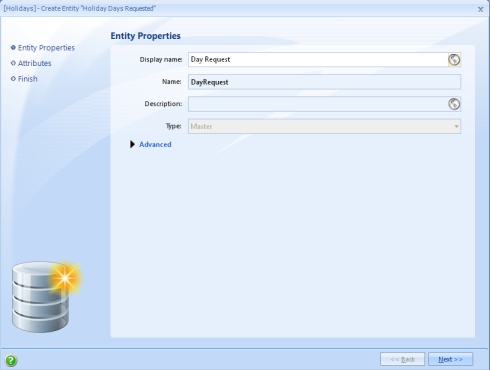
A new window to create the new entity opens. Write the Display Name and Name for the entity, then click Next:
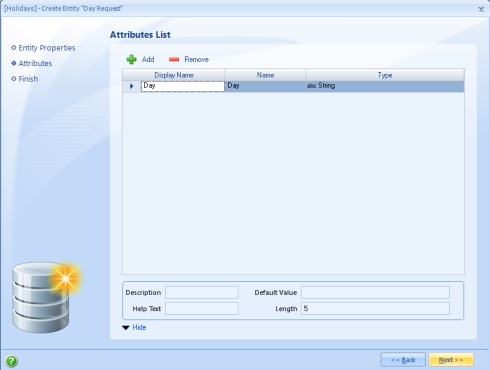
Create the attributes for the new entity, click Next:
Click Finish in the summary of the creation. Back in the Application entity the relationship is shown, click Next to continue:
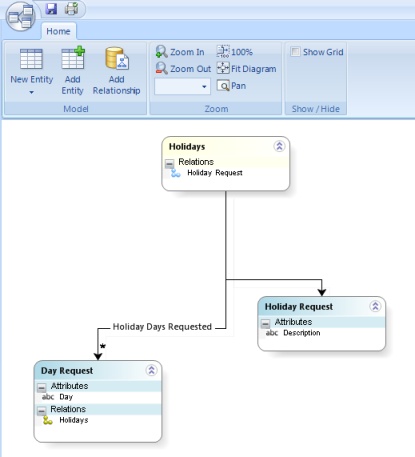
In the Application entity's summary window click Finish. The new relationship would be drawn in the diagram (move entities around to better arrange the diagram). Do not forget to click the save button.
<comments />
