Lane and Phase
From Business Process Management, BPM and Workflow Automation Wiki | BizAgi BPMS
<keywords content="keywords">
lane, lanes, phase, phases, creating, deleting, creation phase, case creation phase, radication phase
</keywords>
Contents |
Lane
Lanes represent participants in a process.
On certain occasions, there is an activity diagram that expands along more than one entity or player. When this happens, the activity diagram is partitioned into swim-lines, where each lane represents the person in charge (area or player) who is carrying out the activity.
Lanes are used as a mechanism to arrange activities in separate display categories to illustrate the different persons in charge.
|
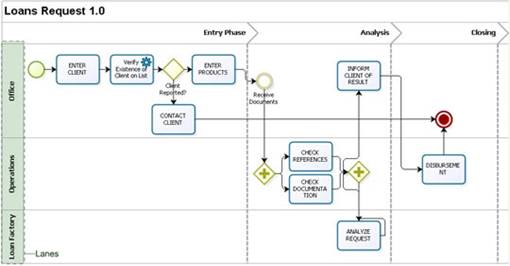
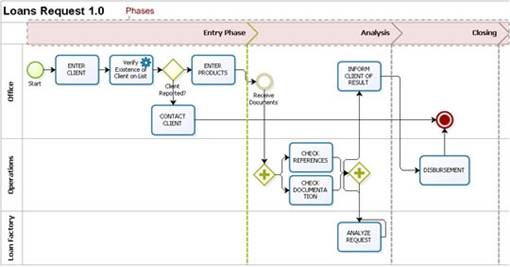
Example: In this process called “Loans Request”, there are three lanes: Office, Operations and Loan Factory. |
Considerations
![]() The first lane of the process is created automatically when the process is created.
The first lane of the process is created automatically when the process is created.
![]() All shapes must belong to one lane.
All shapes must belong to one lane.
How to Rename a Lane
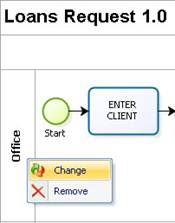
1.A lane can be renamed simply by right clicking on the name and clicking on the Change option. When a process is created for the first time, a lane appears, which can be used, just change its name.
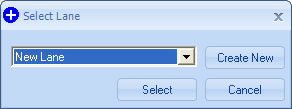
2.The Select lane window pops up to indicate the new name of the lane. To change the name of the area for a new one, click on the New Area button; you can also change the name of the lane for one that has already been created.
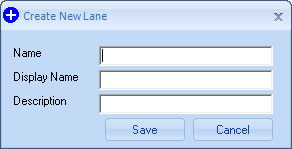
3.Indicate the name (for the database), the display name of the object you would like to use and the description of the lane being created. The display name will appear in the diagram.
How to Create a lane
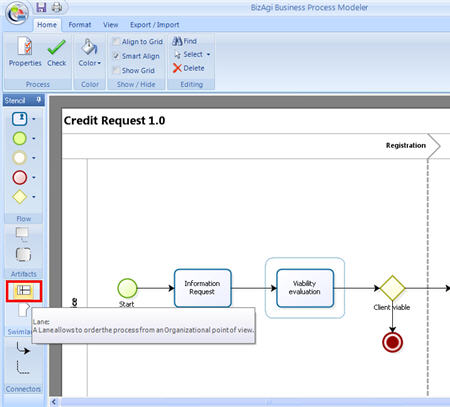
1.To create a lane in the process, click on the lane button of the Bizagi Stencil and drag it to the process. Remember that if you only need one lane, you can use the one that is created automatically with the process.
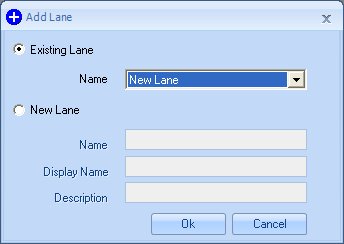
2.When you let go of the button on the diagram, a window will pop up where you will indicate the name of the lane you would like to use. Choose form an Existing Lane name or Create a New one. Once you have finished, click on OK. If the name of the lane already exists, simply display the combo and pick a name.
How to Delete a Lane
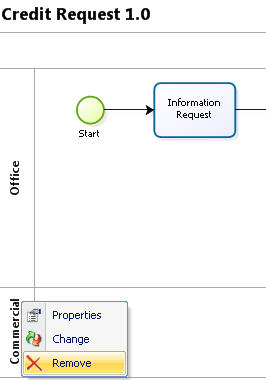
A lane can be deleted simply by right clicking on the name and selecting the “Delete” option. However, keep the following considerations in mind:
![]() There should be at least one lane in the diagram
There should be at least one lane in the diagram
![]() Before deleting the lane there should be no shapes associated with it.
Before deleting the lane there should be no shapes associated with it.
How to Decrease or Increase the Size of a Lane
To decrease or increase the size of a lane click on the bottom and drag it to wherever you want to minimize or maximize it.
Phase
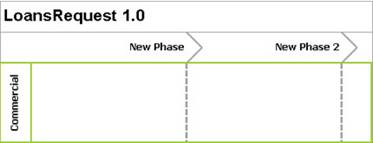
A Phase is a sub-partition within a lane and it is extended over it vertically. Phases are used to arrange and categorize activities showing the possible statuses that a process can have during its life cycle.
In general, a phase defines the macro status of the business. Each phase represents a status of the process.
|
Example: In this process called “Request for Consumer Loan”, there are three Phases: Entry Phase, Analysis Phase and Closing Phase. |
Considerations
![]() All shapes must belong to one phase. Therefore, all processes must have at least one phase.
All shapes must belong to one phase. Therefore, all processes must have at least one phase.
![]() The number of phases required and the names used depend on the statuses of the process.
The number of phases required and the names used depend on the statuses of the process.
![]() There are two types of phases, which can be configured in the global properties of the shape:
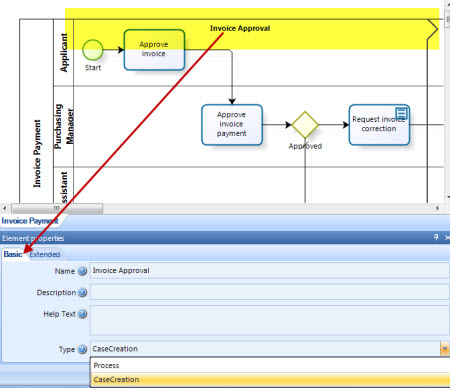
There are two types of phases, which can be configured in the global properties of the shape:
Type 1 – CaseCreation: the use of this phase indicates that the initial activities of the process correspond to the entry phase of the case. In the Web application, this type of phase will automatically generate an additional screen after completing the last activity of the phase, informing the user that the entry has been successful. All the activities in this type of phase have the property that they can return to the immediately previous activity.
To make use of this phase, bear the following in mind: There should only be manual activities (no decisions or other shapes). This type of phase should not be used in sub-processes. This will delay case id assignment until the end of case creation, for example when using customized case numbers.
Type 2 – Process: A normal phase enables the indication of all the possible statuses of the process. This type of phase, unlike the previous one, will not allow you to return to a previous activity.
How to Create a phase
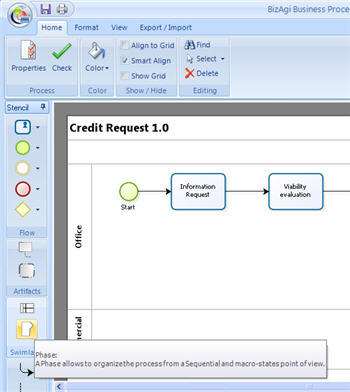
1.With the Bizagi stencil displayed, click on the phase button of the Bizagi BPM Stencil and drag it to the blank page to create a phase in the process.
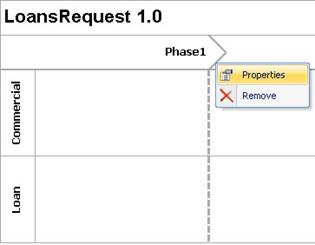
2.The name of the phase can be changed by right clicking on the top of the shape and selecting the Properties option.
In the Properties window of the phase, include or change the name of the phase in the respective name or display name field.
How to Delete a phase
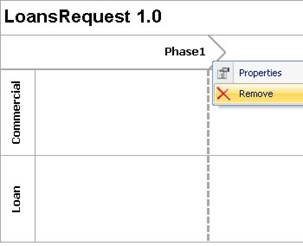
To delete a phase click on the “delete” option that appears when you right click on the top of the phase.
Remember that, in order to be able to delete a phase, there should be no associated shapes to the left of said phase. There should be at least one phase in each process.
How to Decrease or Increase the Size of a Phase
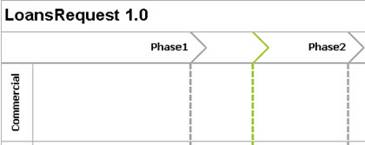
To decrease or increase the size of a phase, click on the top of the phase and drag it to wherever you want to minimize or maximize it.
<comments />
