Integration with SharePoint
From Business Process Management, BPM and Workflow Automation Wiki | BizAgi BPMS
<keywords content="keywords"> share point, sharepoint, microsoft, integrate, integration </keywords>
Contents |
Bizagi Integration with SharePoint
Portal
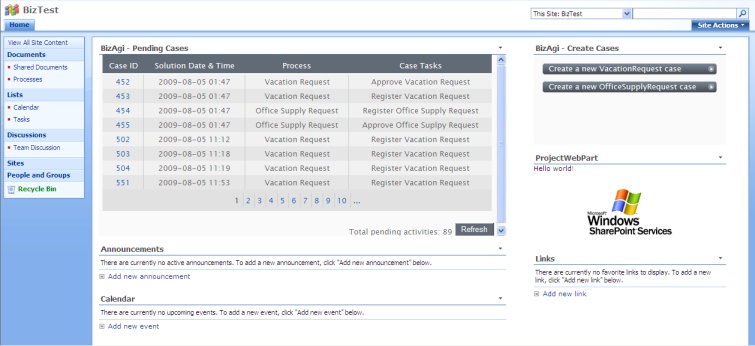
Some companies have most of their applications available in a web portal (Sharepoint). The integration between Bizagi and those portals is possible thanks to Bizagi SOA Layer and SharePoint WebParts. The next example shows how to included buttons to create new cases and also a view of the user’s pending cases in a SharePoint site.
|
Note:This example was created using Bizagi Standard 9.1.4, Microsoft Visual Studio 2005 and Microsoft SharePoint 2007 |
The easiest way to do it is using a Page Viewer Web Part, that requires creating a web pages and then include its URL.
For this example was used Visual Studio C# to build the web pages. Download here a .RAR file of the Visual Studio project that contains the pages shown in the previous images. Save and extract the file and create a new virtual directory in the Default Web Site of your IIS. Here is explained how to create a virtual directory: [1]
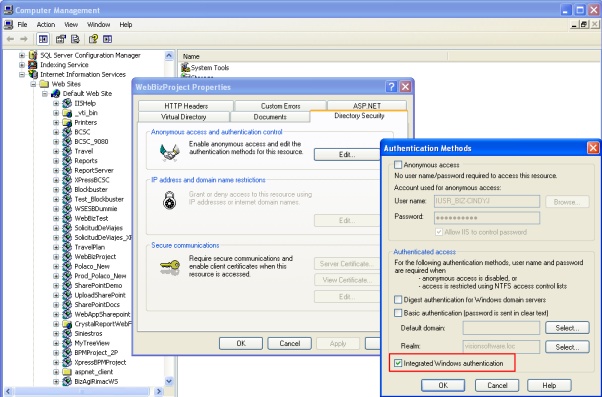
Once the virtual directory is created, modify its security to only Integrated Windows Authentication.
Then open the Web.config file and make the following necessary changes:
- In the value of the key openCaseUrl replace SERVER_NAME with the name or IP address of the server where is your Bizagi project; and PROJECT_NAME with the name of the Bizagi project.
- The value of the key refreshFreq is given in seconds and is the time that would elapse before the page of Pending Cases is refreshed.
- Make the same change as openCaseUrl for the value of the setting WebBizProject_wfSOA_BPMProject_WorkflowEngineSOA
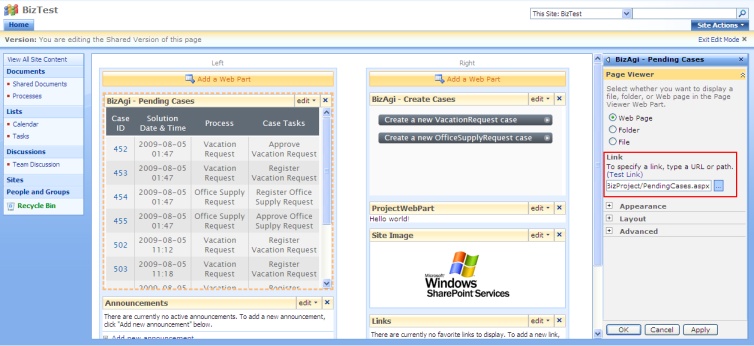
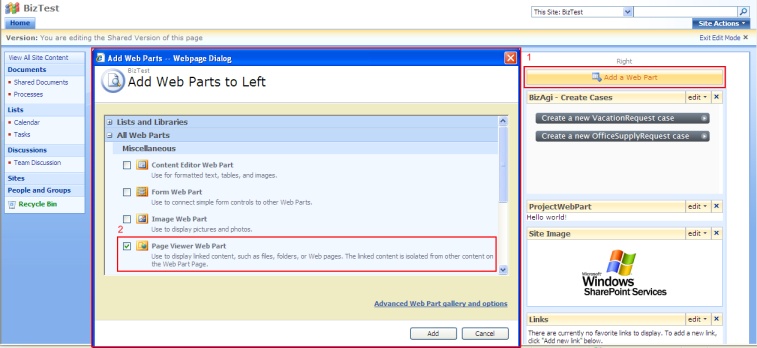
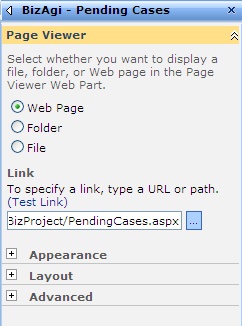
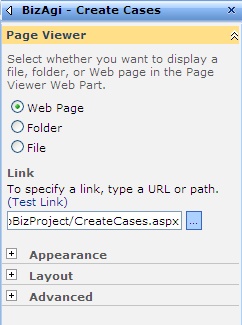
Next edit the SharePoint site and add two Page View Web Parts.
Configure one web part by selecting to display a Web Page and enter the URL of the Pending Cases page: http://SERVER_NAME/VIRTUAL_DIRECTORY_NAME/PendingCases.aspx
In the other web part also select to display a Web Page but enter the URL of the Create Cases page: http://SERVER_NAME/VIRTUAL_DIRECTORY_NAME/CreateCases.aspx
Documents
|
Alert: The way this integration is done in the following examples is deprecated, update to Bizagi version 9.1.5 and use the new out-of-the-box ECM Integration |
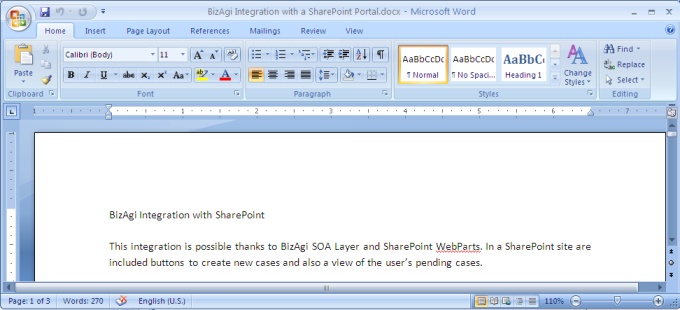
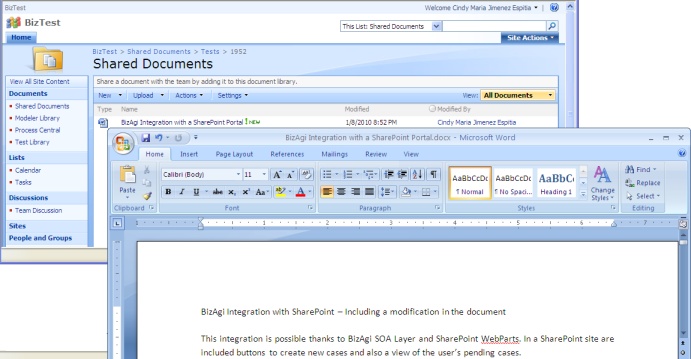
From a Bizagi process is possible to upload files to SharePoint. The files would be save like this:
To achieve this integration, a custom web service is used together with SharePoint web services. This web service can be downloaded here. Save and extract the file and then copy the file in the C:\Inetpub\wwwroot directory.
Install the web service following this steps:
1. Open the IIS Manager
2. Open the Default Web Site, find the DocUploadSP folder, right click on it and select Properties.
3. In the Properties window click the Create button and then OK.
Then open the Web.config file and make the following necessary changes:
- Replace USER_NAME, USER_PASSWORD and USER_DOMAIN for the credential's values of a user that has Add/Edit permissions in a SharePoint Document Library.
- In the SPSite key modify the string SHAREPOINTSITE with the site's name or IP address with the port number included.
- Make also the last modification in the DocUploadSP_DWS_Dws setting.
- Modify the string DOCUMENT_LIBRARY in the SPLib key with the document library's name that is going to be use to upload the document (it may be "Shared Documents").
This web service will be used in the following two examples.
Example 1
This example shows how a document can be uploaded from Bizagi to SharePoint and then opened in Bizagi for editing or just as read-only. To achieve this a userfield will be used. Also another web application is needed, download it here. Save and extract the file and create a new virtual directory in the Default Web Site of your IIS. Here is explained how to create a virtual directory: [2]
Make the following changes on this web application web.config file:
- In the SPSite key modify the string SHAREPOINTSITE with the site's name or IP address with the port number included.
- Modify the string DOCUMENT_LIBRARY in the SPLib key with the document library's name that is going to be use to upload the document (it may be "Shared Documents").
- Change WS_SERVER with the server's name or IP address where the web services was created.
- Replace the strings BIZAGI_SERVER and BA_PROJECT_NAME with the corresponding values of the Bizagi server and the Bizagi project's name, as the URL created for Bizagi web application.
Then create a new Bizagi Process named TestSignalEvents in an Application named Tests.
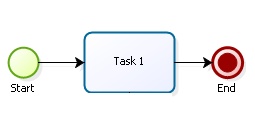
For test purpose it is only required to include a User Task in the process.
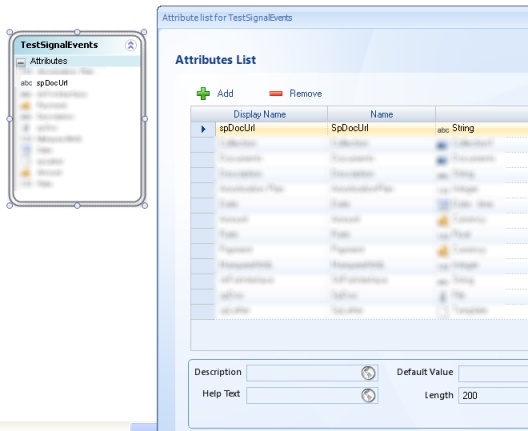
The Process Entity must also be named TestSignalEvents; in this entity create a string attribute named SpDocUrl.
Now create a userfield, as explained in the userfields page, using the following code:
var idCase = Me.Case.Id;
var idTask = Me.Task.Id;

FieldResponse.AppendHTML("<iframe width='100%' height='150' src='http://WS_SERVER/WebAppSharepoint/Default.aspx?case=" + idCase + "&task=" + idTask + "' frameborder='0'>");
FieldResponse.AppendHTML("If you are seeing this message is because your browser doesn't supports this feature.</iframe>");
Replace WS_SERVER with the server's name or IP address of the server where the downloaded web application was saved and its virtual directory created.
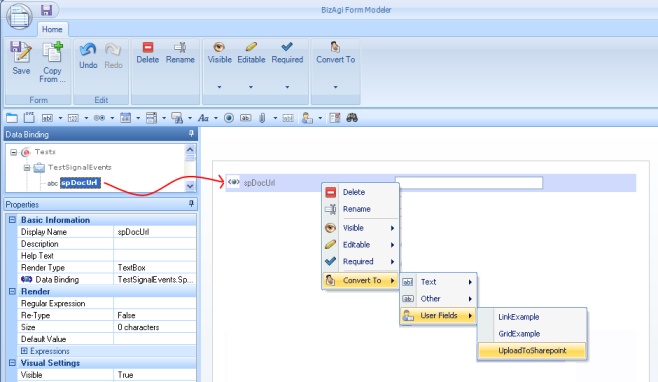
Next define the form for the activity. In this form include the attribute created but then convert it to the userfield previously created.
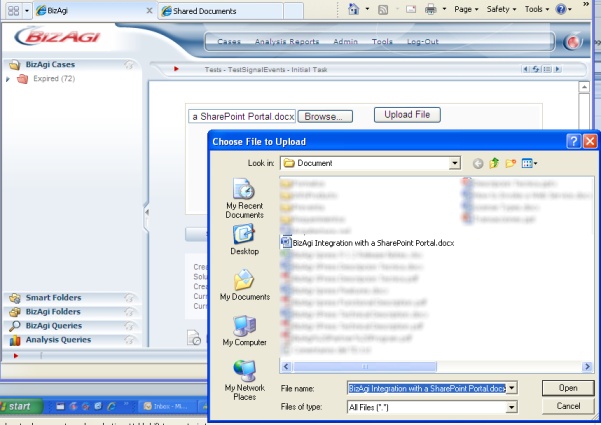
Finally run the application and create a new case. Use the Browse button to find the document to upload.
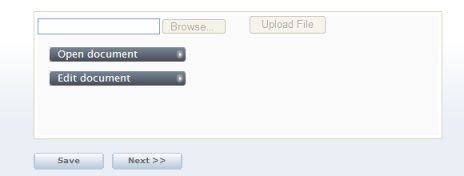
Then click on Upload File. The file will be send to SharePoint and in Bizagi's application two buttons will appear. One to open the document as read-only (Open document) and the other to edit the document.
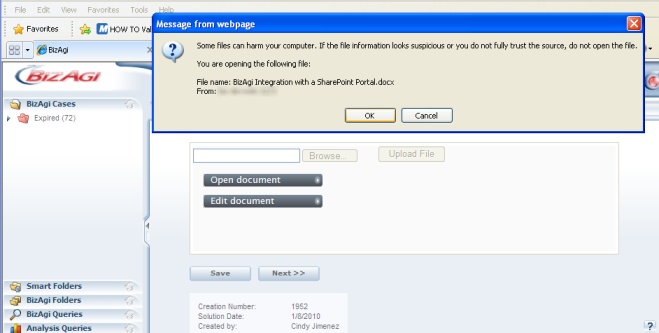
When the Edit document button is click a warning window is first shown, click OK to continue. Then a little window informing that the file is being open appears.
Then the document is open with the appropriate application, this document can be modified and saved.
When the document is being save the same little window that appeared when it was opened shows up.
This same document may then be view on SharePoint
Example 2
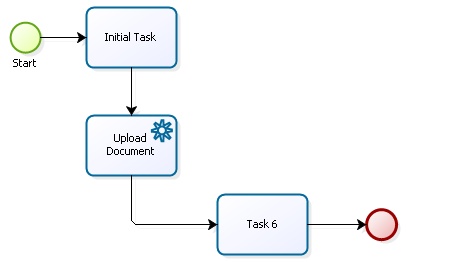
In this second example, the document can be open as read-only. To make changes it must be saved on the local machine and then uploaded again with the same name. For this example create a process in Bizagi with two Activities and a Service Task.
Include a File attribute (SpDoc) in the Process Entity.
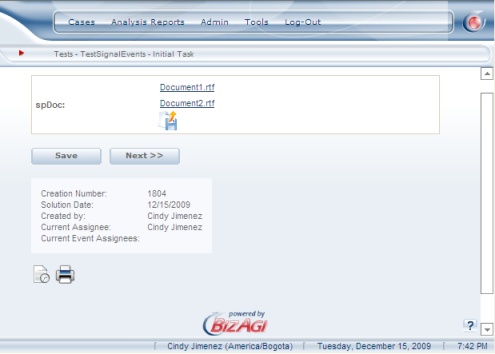
For the first Activity (Initial Task) create a form that has this attribute with the Visible, Editable and Required properties in True. Also include it in the second Activity's (Task 6) form, but only with Visible in True.
In the Service Task, add an Expression Action using the following code:
var SRes=""; //string
var FName; //string
var FData=null; //object
var CaseNum; //string
var ProcessName; //string
try
{
	CaseNum = Me.Case.Id;
	ProcessName = "PROCESS_NAME";
	var file = Me.getXPath("PROCESS_ENTITY.SpDoc");
	for(var i = 0; i < file.size(); i++)
	{
		FName = file.get(i).getXPath("fileName");
		FData = file.get(i).getXPath("data");
		SRes = CWebService.invokeWS("http://WS_SERVER/DocUploadSP/UploadDocument.asmx", "SendFile", [CaseNum, ProcessName, FName, FData]);
		if(SRes.Length > 0)
			CHelper.ThrowValidationError("Interface error: " + SRes);
	}
}
catch(e)
{
	CHelper.ThrowValidationError(e.toString());
}
Replace the string PROCESS_NAME and PROCESS_ENTITY with the corresponding values used in your project. Also modify WS_SERVER with the server's name or IP address where the previous web services was created.
Run the process and test it. In the first activity upload 1 or more files and click Next.
Go to SharePoint and view the uploaded file(s). <comments />
