Example Join Search Dialog
From Business Process Management, BPM and Workflow Automation Wiki | BizAgi BPMS
<keywords content="keywords"> example, join search dialog, allow full search, allow new, read only, searching, order, search, join search, search record, search client, search master, new record, unique constraint, unique, jsd</keywords>
Contents |
Example Join Search Dialog
Overview
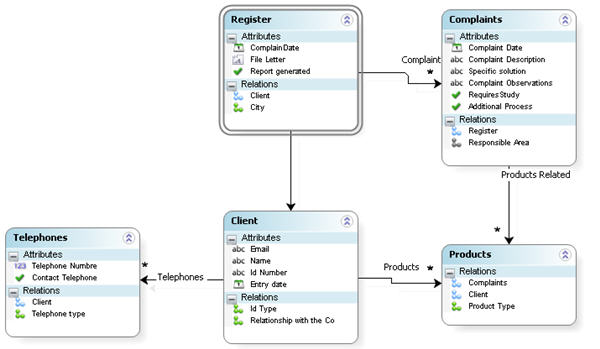
The example will be based on a client's search using the attributes: name, identification number and identification type.
In the Forms Designer, drag the Attribute that relates to the entity where the search will be performed, to the Business Main Entity. This will automatically place a Join Search Dialog on the Display.
For a clearer example, the following video will show the simple steps to create a Join Search Dialog. A form has been previously created for the search to load the saved information.
<videoflash>rdYrwI5B-oo|640|505|</videoflash>
Properties and options
![]() Join Search Dialogs have a Search Form that contains the search attributes and a Display Attribute that displays the selected record. Both are always required.
Join Search Dialogs have a Search Form that contains the search attributes and a Display Attribute that displays the selected record. Both are always required.
The Display attribute can be in the search form and also be a display attribute.
When enabled, the results of the search will return all the records that exist on the list in every field.
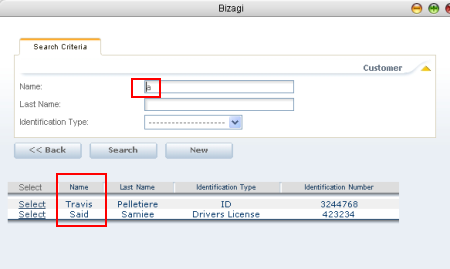
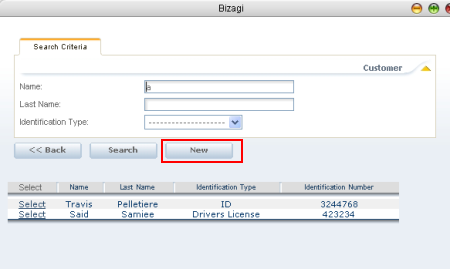
For example: The screen displayed shows a Client Search with “Allow Full Search” enabled. The search result in the next screen shows all the clients whose name contain an "a".
For the effects of this example, the assumption is that the two clients presented in the past screen are the only ones that exist in the database.
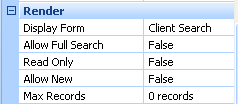
When not enabled, as you can see on the next image (False), the search would have certain restrictions, as shown in the next example.
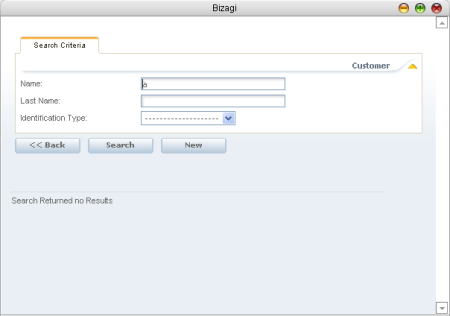
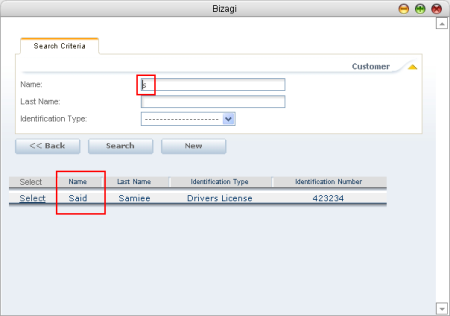
The next screen shows a client search with “Allow Full Search” not enabled. After including an "a" as a search criteria again, no results are returned because no name in the database start with an "a".
On the other hand, if an "s" is included as the criteria, the system will return the client whose name starts with an "s", as seen below.
![]() Read Only check box: When checked, the Display Attribute will be not editable.
Read Only check box: When checked, the Display Attribute will be not editable.
![]() Allow New check box: In case the record that is been searched doesn't exist, the NEW button will allow the user to create it. By enabling this check box, the "New" button will be visible as shown below.
Allow New check box: In case the record that is been searched doesn't exist, the NEW button will allow the user to create it. By enabling this check box, the "New" button will be visible as shown below.
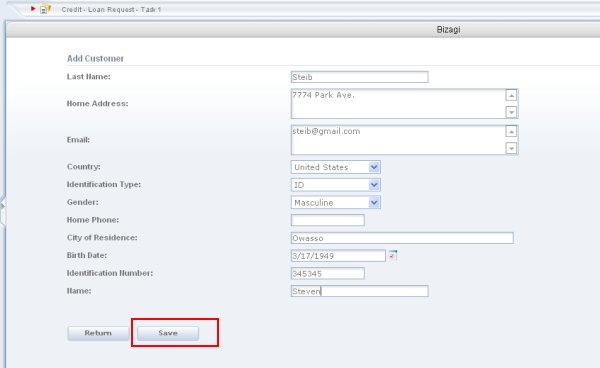
Once the user clicks on the button, Bizagi will automatically present a form to allow the user to include the information of the new record. In this case the customer's information has to be completed, when finished click on the "Save" button.
When saved, the information just added in the record will be automatically associated in the case.
|
Alert: Take into account that adding new records (through the "Allow New" property) will be available for the join search dialog for attributes which are references to master entities. Adding new records for parametric entities should be done through the entities administration option. |
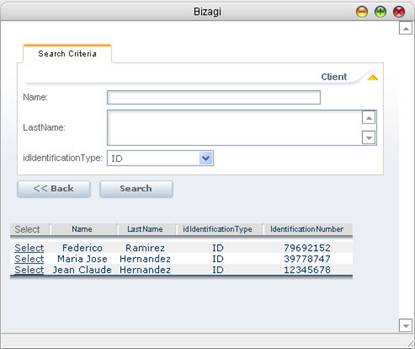
![]() Order in the Join Search Dialog: To automatically arrange the entries of the results of a Join Search Dialog, go to “Related Entity” options for the render of the Join Search Dialog and select an attribute from the Order By Attribute list.
Order in the Join Search Dialog: To automatically arrange the entries of the results of a Join Search Dialog, go to “Related Entity” options for the render of the Join Search Dialog and select an attribute from the Order By Attribute list.
As a result, the entries found in the search will be displayed, arranged according to the previously selected attribute:
Related Articles
<comments />
