How to make visibility rules for users
From Business Process Management, BPM and Workflow Automation Wiki | BizAgi BPMS
<keywords content="keywords">visible, visibility rule, business rule, hide information, roles, skill, position, sensitive information</keywords>
How to Create Visibility Rules for Users
Sensitive information in a process must be handled carefully. This document explains how it can be handled in an automated process in Bizagi.
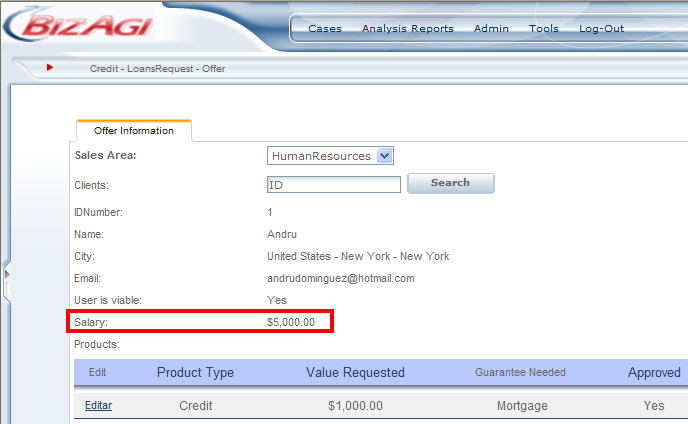
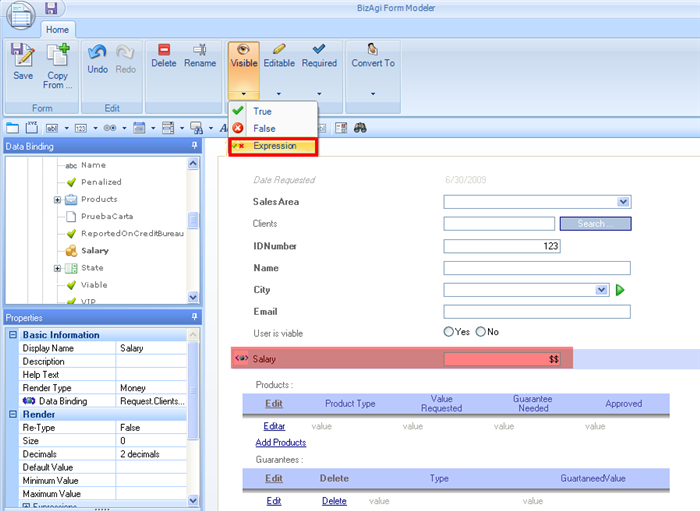
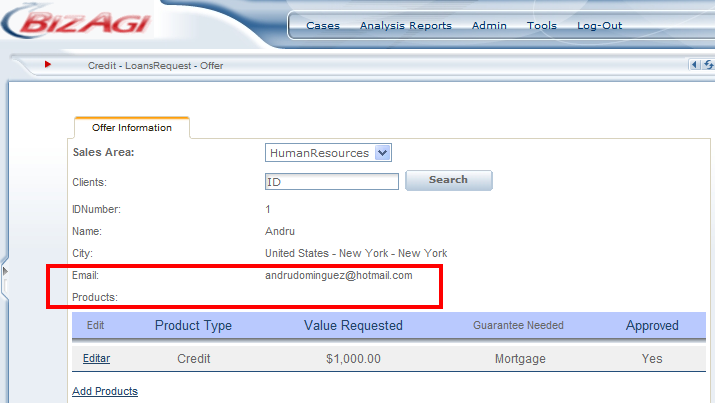
For example, managers in the organization may need to see the salary of employees who have requested vacations but no one else should be able to see this information. Below is a screenshot which shows the salary of the employee and is visible to everyone..
The following steps create a visibility rule that allows only users with a certain role to see the information considered sensitive in the process.
1. Create a role for users who will be allowed access to salary information.
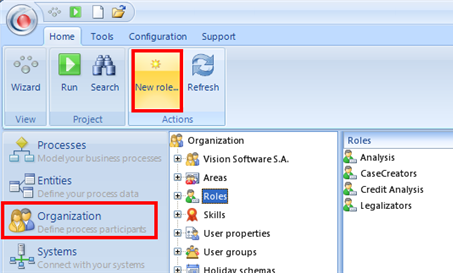
Go to:Bizagi Studio > Organization > Roles > New Role
|
Note: In this example, Roles are used to differentiate users but, depending on the need of the process, Skills and Positions may also be used for this same purpose. |
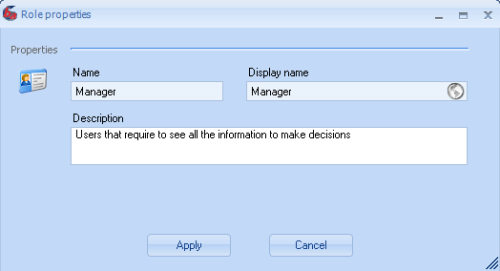
Enter a meaningful Name and Display Name for the role that is required.
2. Create a rule that determines if the user has a qualified role to see the information.
For detailed information about the creation of a rule see steps 1 and 2 in Compare Dates.
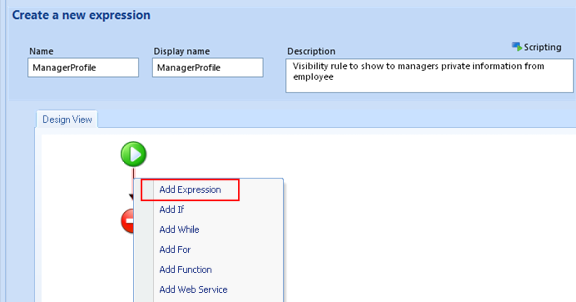
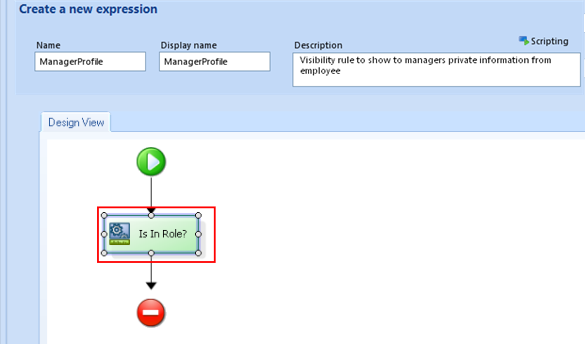
Right click on the black arrow and click on Add Expression
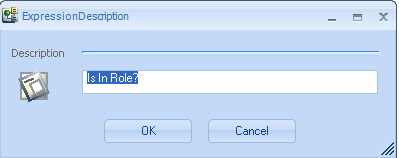
Give the expression a meaningful name.
Double click on the Expression just created.
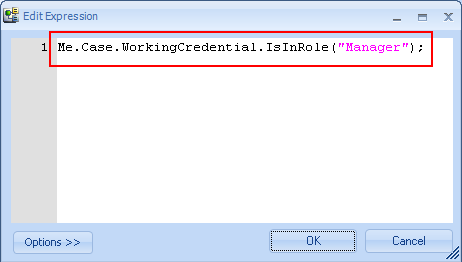
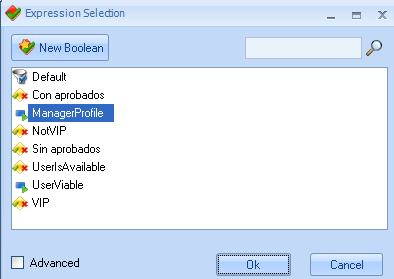
Include the expression as seen below. This checks the users profile and returns True if the current user has a Manager role and False otherwise.
|
Note: The variations that may be used are: 1. To compare Position: Me.Case.WorkingCredential.IsInPosition("Position Name"); 2. To compare Skill: Me.Case.WorkingCredential.IsInSkill("Skill Name"); |
Click on OK twice, to save the expression and to save the rule.
3. Associate the rule to the fields on the forms that are going to be hidden for users that do not have the qualified role.
Open the form where the sensitive information is presented, in this case Salary. Click on the icon found in the Visible column for the Salary row.
Select Business rule and find the rule created in step 2. Click OK.
4. Associate the new role created to the users who are allowed to see sensitive information, as for Salary in the above example.
Go to: Bizagi Web Application > Admin > Users, and search for the users that are qualified for the new role.
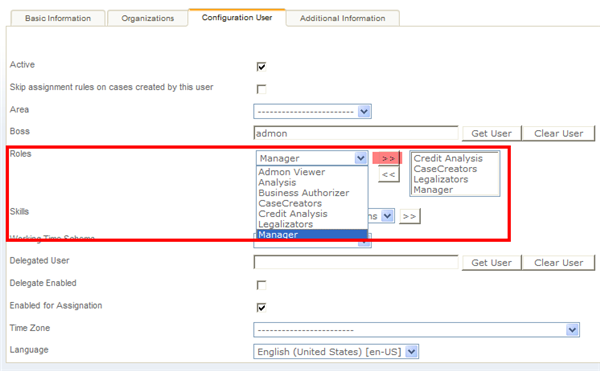
For each user select the role Manager, and then click on the arrows to add it.
5. Test the new visibility rule
Try the web application entering with and without the Manager role, and verify if the information is presented.
This is the screenshot for a user without the Manager role. Notice the Salary field is no longer presented in between the entrance date and the last vacation date fields.
Related Topics
More about Business Expressions
More about the Organization in Bizagi Studio
<comments />
