Deployment to Production
From Business Process Management, BPM and Workflow Automation Wiki | BizAgi BPMS
<keywords content="keywords"> deployment to production, deploy to production, execute process in production, production environment, create production environment, production, deploy, environment, execute, environments, deployment, publish, publish to production, productive environment </keywords>
Contents |
How to Make a Deployment to Production
Before reading this document and launching a deployment to the Production environment, make sure you have read the previous considerations and requirements for a Deployment, and the How to make a Deployment to Test article.
|
Alert: Deployment to Production is a procedure that cannot be "undone". |
Deployments done directly from Development to the Production environment (without having a Test environment) are carried out in the same manner as performing deployments to the Test environment (the main difference is that you select the Production environment instead of the Test environment and therefore you are not presented options for the Release Candidate marking feature).
Keep in mind that the afore mentioned is not the recommended procedure.
The recommended procedure is to deploy processes versions to Production always after having deployed them and tested them in the Test environment with use of the Release Candidate feature.
According to this, a deployment to Production is done with the following steps:
Deployment to Production
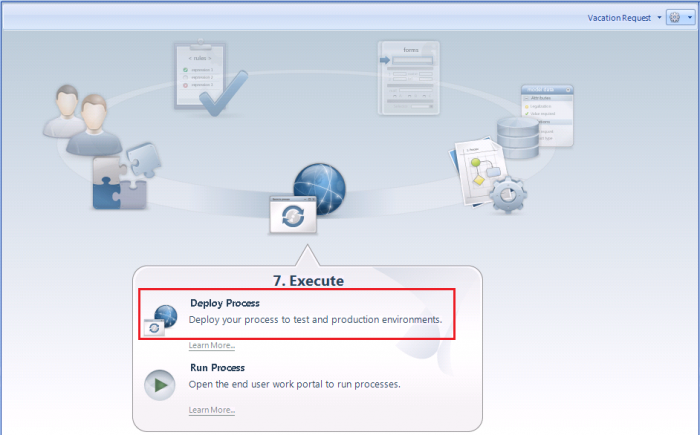
1. Once you have done a deployment to the Test environment with tests approval (certification of the Release Candidate), go to the step 7 of the Wizard in Bizagi Studio (Execute) and click on the Deploy Process option.
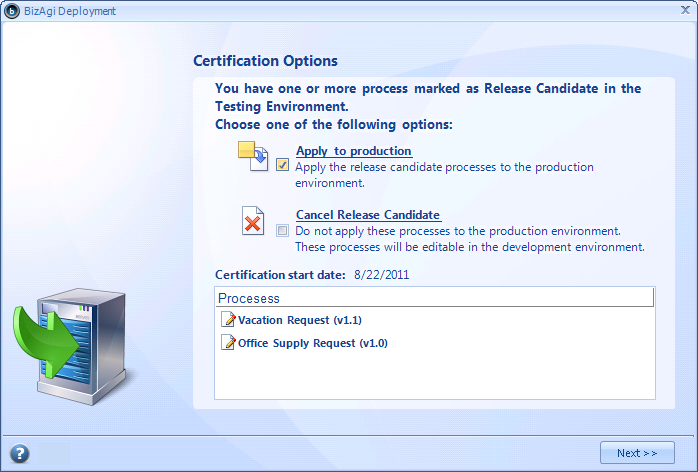
2. Given that the most recent deployment was made to Test with processes versions marked as Release Candidate, you will be immediately prompted with a window requesting an action for that Release Candidate.
Click on "Apply" that release candidate.
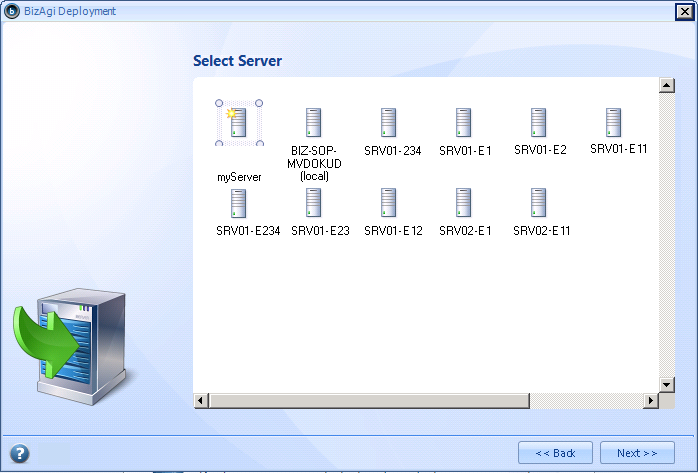
3. If it is a first deployment to Production, you will need to select the target server and the database instance similarly to how is done in a first deployment to the Test environment.
|
Alert: Remember that it is best to use the server's name. While inputting an IP addresses directly, it is necessary to ensure that the IP addresses are not dynamic. In other words, it is necessary for the server's IP address to remain the same. |
Notice that the Database name is given and cannot be changed. For the Production environment, the project is created with the same name as the project in the Development environment (unless the chosen server for Production is the same as the Development server which is not recommended, in which case the Production project will be named as "Prod_[myProject]").
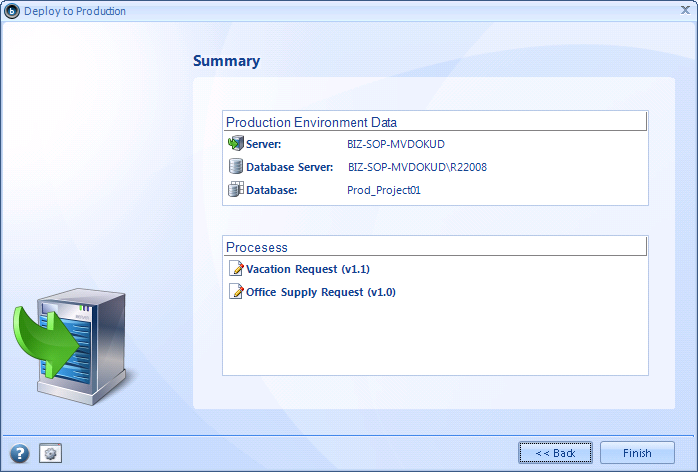
4. A summary window will appear showing the information related to this deployment.
You may not add more processes versions at this point, since the deployment is applying an already tested/accepted Release Candidate.
You may not change the Production environment server while in the deployment procedure.
View information about the Management Console's options for Production's Servers management.
To start the deployment click on Finish.
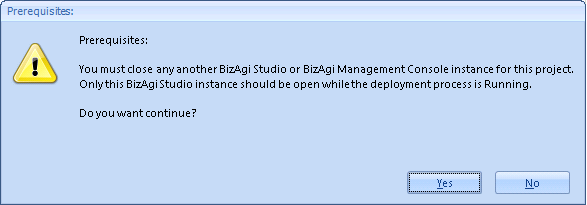
5. The wizard will prompt you to close any Bizagi Studio or Management Console that has this same project loaded.
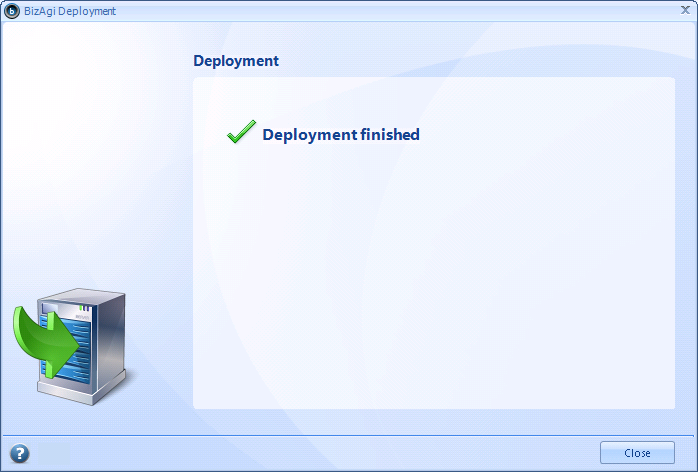
Then it will notify you once the deployment procedure is completed.
When this window is shown, click on Close.
|
Alert: For the Enterprise JEE Edition, in addition to the procedure described previously, a deployment to the Production environment requires also a deployment of the web application. |
Additional Information
Once the Production environment has been created, it is possible to run its work portal.
View further information about running the work portal for an environment.
Related Articles
- How to make a Deployment to Test
- Bizagi Deployment
- Previous considerations and requirements for a Deployment
- Recommendations for continuous improvement and development after a deployment
<comments/>
