Authentication and Security
From Business Process Management, BPM and Workflow Automation Wiki | BizAgi BPMS
<keywords content="keywords"> security, authentication, authorization, LDAP, active directory </keywords>
Contents |
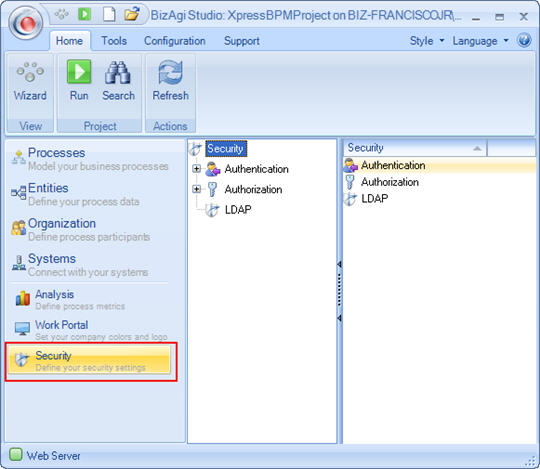
Security
The Bizagi Security Module allows you to define a schema of permissions on some of the elements of the WEB application based on specific roles and user groups.
There are different modules, buttons and links available in the Bizagi Web Application that want to be controlled. With the security function, you can define who has access to what WEB element based on profile.
|
Example: Analysis Reports should only be viewable by the persons at higher levels such as supervisors or managers. However, there are other elements that can be viewed by all users such as: home page, pending page, search page and closed cases page of the web application. |
The following is a detailed explanation of each of the elements available of the security module.
For more information please refer to How to configure access control
Authentication
The security module includes an Authentication component that has great versatility in user management and validation. As soon as a user is created from the web application, the Bizagi Authentication is turned on by deafult.
For more information please refer to the followinw articles
- Different types of Authentication
- How to configure Windows and Bizagi Authentication
- How to authenticate end users in the Work Portal
|
Note: Authentication configuration will be taken to production in the first deployment. Henceforth, environments have independent configurations. |
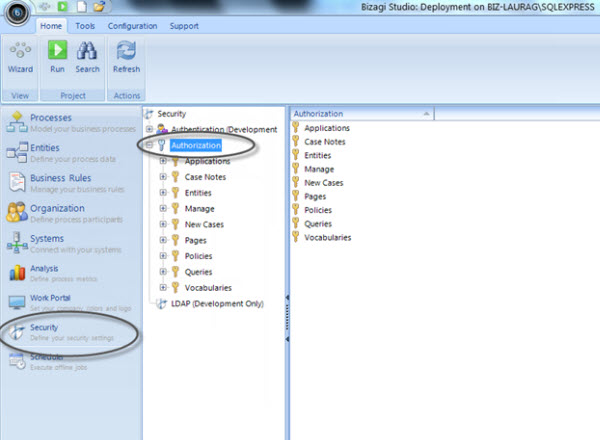
Authorization
In Bizagi, all users have access to all pages in the web application by default. In order to control access to those pages it is very important to set each one. They are defined via User Groups or Roles.
Please click to learn more about:
|
Note: it is important to point out that while security has not been configured for an element (entity, new cases, pages or policies), it will be available to all users. |
Permissions and restrictions configured in the security component are defined by User Groups and Roles defined in the Organization component. For more information please refer to Configure access control on the Work Portal
Import LDAP Active Directory
Bizagi allows you to keep user information updated by synchronizing the information from the WFUSER entity with the information in the organization’s LDAP systems.
The LDAP element is used to import the active directory of an entity, which allows us to take all the users created therein to Bizagi.
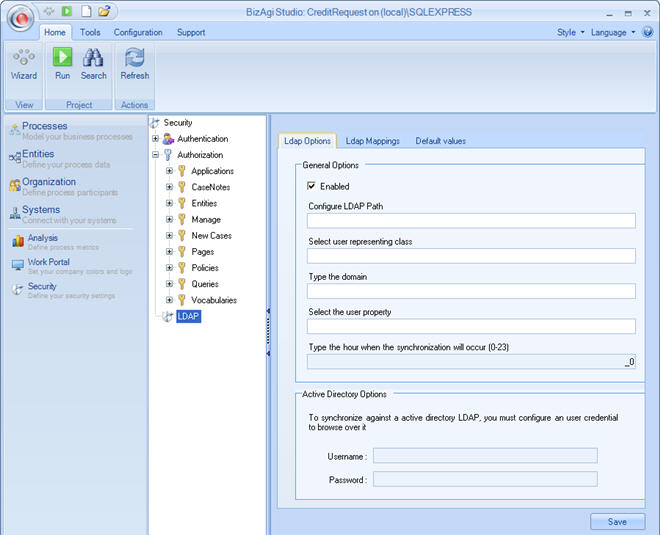
![]() Configure the following fields in the "Ldap Options" tab:
Configure the following fields in the "Ldap Options" tab:
![]() Enable: When this option is checked, it allows you to edit the other fields of the form
Enable: When this option is checked, it allows you to edit the other fields of the form
![]() Configure LDAP Path: This is where you fill in the path to access the organization’s LDAP server.
Configure LDAP Path: This is where you fill in the path to access the organization’s LDAP server.
![]() Select user representing class: Name of the class that represents the user in the LDAP configuration.
Select user representing class: Name of the class that represents the user in the LDAP configuration.
![]() Type the domain: Name of the domain based on which the information is going to be synchronized.
Type the domain: Name of the domain based on which the information is going to be synchronized.
![]() Select the user property: Name of the property that univocally identifies a user in the LDAP structure.
Select the user property: Name of the property that univocally identifies a user in the LDAP structure.
![]() Sinchronization Hour: Time at which the synchronization will be carried out against the LDAP system.
Sinchronization Hour: Time at which the synchronization will be carried out against the LDAP system.
![]() Username: User account to be used to carry out searches on the LDAP system
Username: User account to be used to carry out searches on the LDAP system
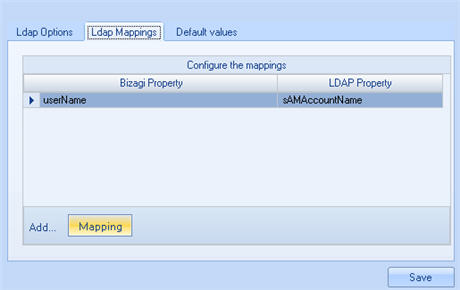
![]() In the "Ldap Mappings" tab, the values in the LDAP system are configured in order for them to be assigned to the fields contained by WFUSER, such as username, email, etc.
In the "Ldap Mappings" tab, the values in the LDAP system are configured in order for them to be assigned to the fields contained by WFUSER, such as username, email, etc.
To delete an entry select it and then hit the Delete button on your keyboard.
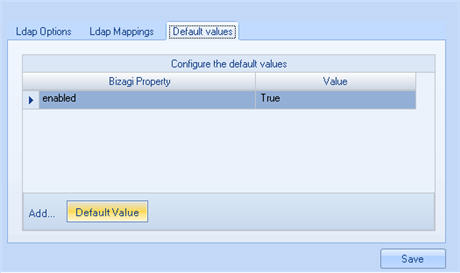
![]() If there are any Bizagi fields that have no correspondence in the user properties of the directory, or you do not want to use it, you can configure a default value for each of the fields on the tab "Default Values".
If there are any Bizagi fields that have no correspondence in the user properties of the directory, or you do not want to use it, you can configure a default value for each of the fields on the tab "Default Values".
Related Information
<comments />
