Installing Bizagi Enterprise JEE
From Business Process Management, BPM and Workflow Automation Wiki | BizAgi BPMS
<keywords content="keywords"> install, installing, Bizagi, standard edition, enterprise jee edition, java, jee, jboss </keywords>
Contents |
Installing Bizagi Enterprise JEE Edition
Overview
Bizagi Enterprise is our corporate edition.
It allows you to scale up to thousands of users delivering an enterprise-class platform for mission critical, high performance and complex business processes in your organization.
For the corporate edition you can choose between the Enterprise .NET and Enterprise JEE Edition, depending on your technological preferences.
They are similar in functionality; and their difference is the IT platform on which they execute.
This article is a guide to install Bizagi Enterprise JEE edition.
For detailed information about Bizagi's different editions and their differences, refer to the compare editions link.
Prerequisites and Considerations
Before you start, please review the system requirements for Bizagi Enterprise JEE edition..
Bizagi Enterprise JEE Edition requires Java SE's JDK version 6 update 31.
Within this Enterprise JEE Edition, Bizagi will install itself the Java SE's JDK version (if not already installed), and a bundled JBoss 7.1 Application Server as well.
Take into account that in order to use Java SE's JDK and the JBoss Application Server, Bizagi will also configure the JAVA_HOME and JBOSS_HOME environment variables when installing this edition.
How to Install Bizagi Enterprise JEE Edition
To install Bizagi, it is required that the installer is run by a user having administrator priviledges (a user created as a member of the Administrators group of the given server).
1. Run the installer
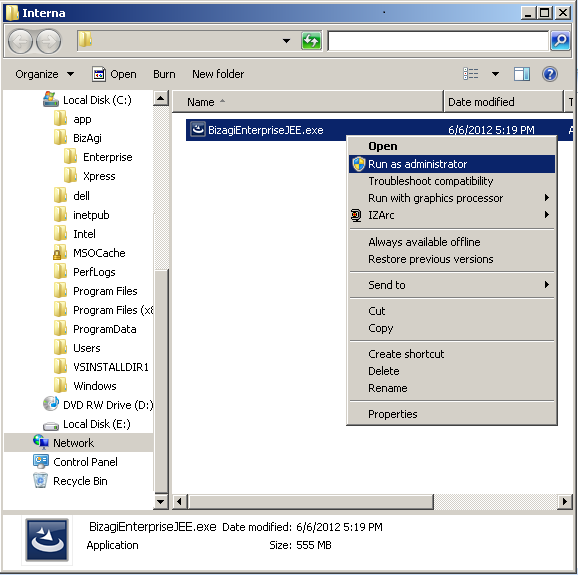
Run the BizagiEnterpriseJEE.exe to begin the installation process.
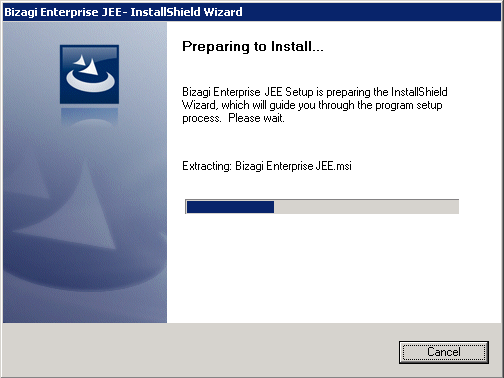
The Install Shield Wizard will launch and guide the installation process:
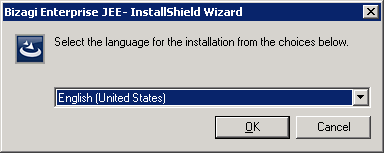
You may select the language for the installation (English or Spanish).
2. Proceed with the installation
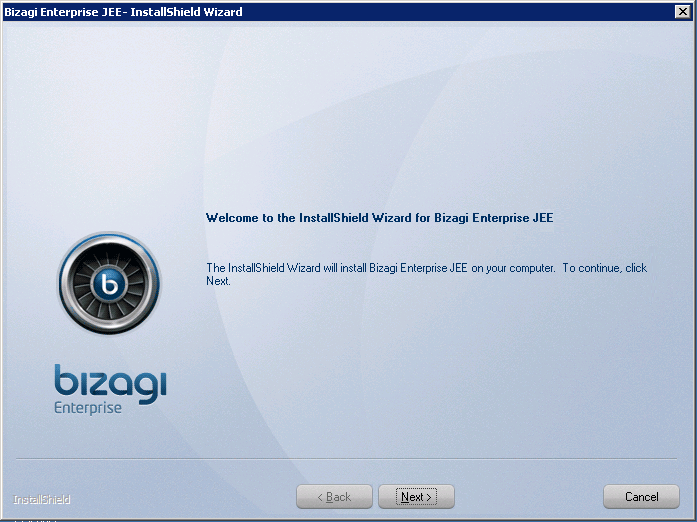
When the Welcome window of the Install Shield for Bizagi Enterprise JEE opens, click Next.
3. License agreement
Read and accept the Bizagi license agreement and click Next.
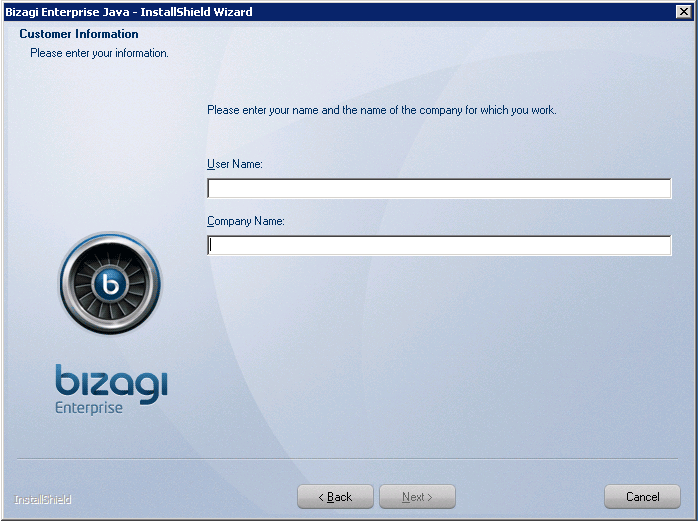
4. Enter an installation username
Enter a User Name and Company Name and click Next.
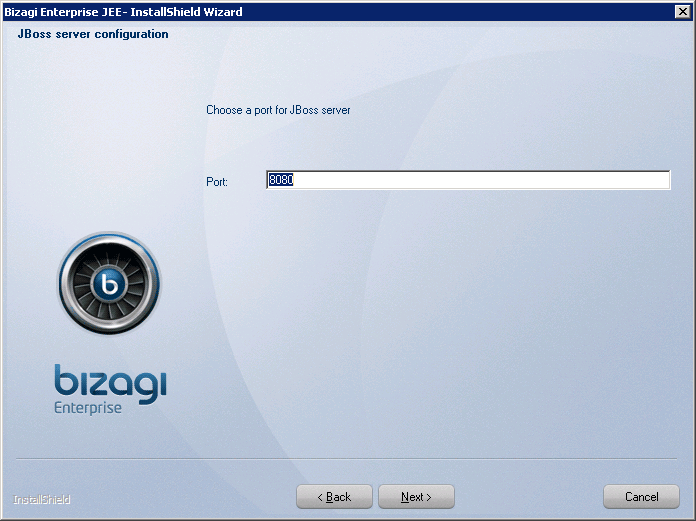
5. Choose a service port for JBoss
Enter a port in which the bundled JBoss 7.1 Application server will have available its service for Http requests.
By default, JBoss and this installation will work by using the 8080 port. You may choose to change this port to one of your choice, or leave it as default.
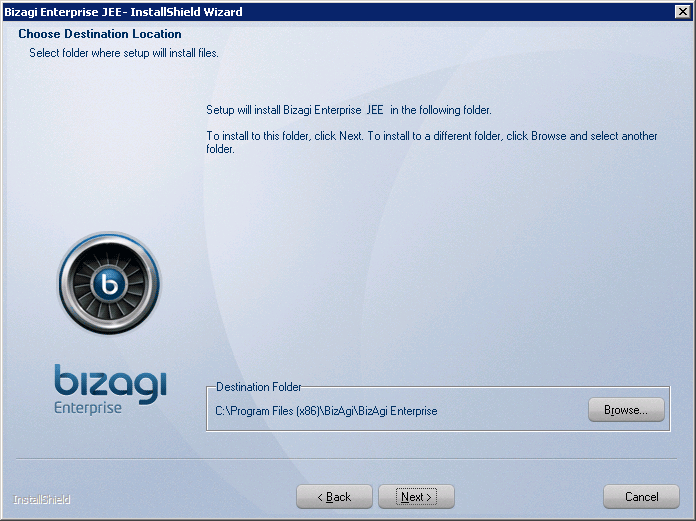
6. Select the installation path
Click Next to install Bizagi in the default destination folder ("C:\Program Files (x86)\BizAgi\BizAgi Enterprise").
To change this destination folder, click on Browse and select the file directory of your choice. Then click on Next.
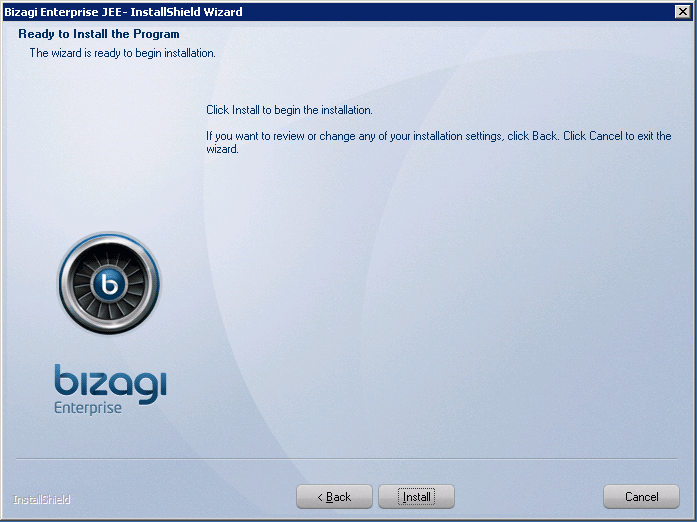
7. Start the installation process
In the following window, click on Install to start the installation:
|
Note: Bizagi will install required components such as: Java SDK 6.31, JBoss 7.1 Application Server, Microsoft .NET Framework 2.0 SP1, Visual J# 2.0 Second Edition, and Visual C++ 2008 Redistributable, if they are not already installed. |
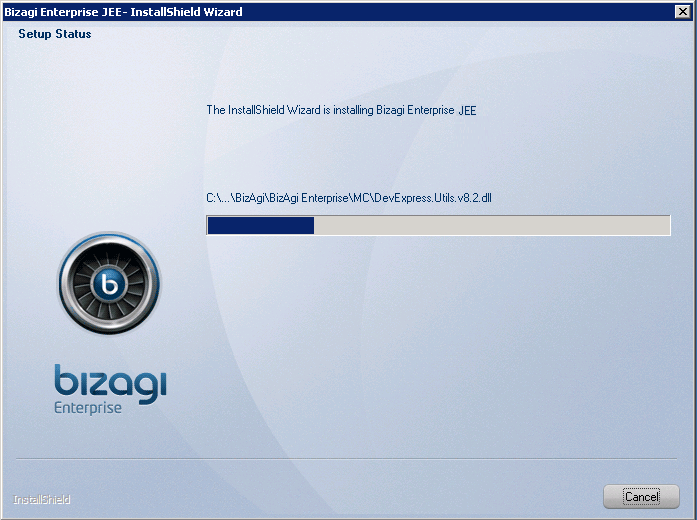
The installation progress bar will be shown:
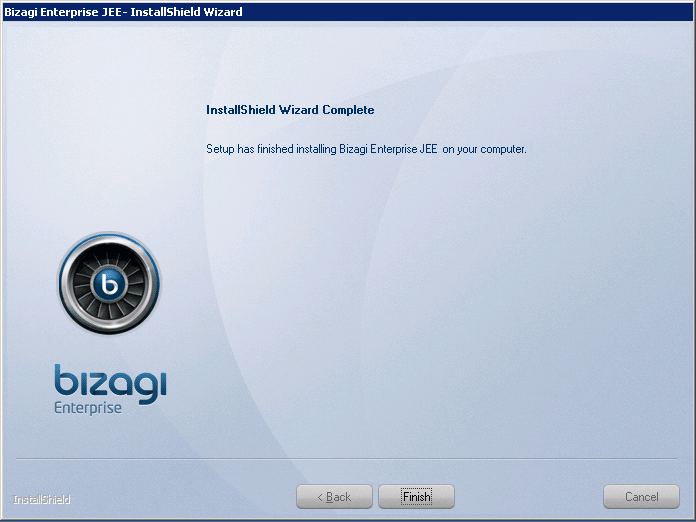
8. Finish the installation
The following window will appear when the installation is complete.
Click on Finish.
|
Note: Take into account that creation of projects require an installed Database engine such as MSSQL Server or Oracle for the Enterprise edition (read hardware and software requirements). When using SQL Server, authentication needs to be set to SQL Server and Windows Authentication mode, and you may Use the sa login or another one. SQL Server supported collations (on the Collation Settings instance installation page) are those case-insensitive and non-Turkish collations. |
How to use Bizagi Enterprise JEE Edition
To start using Bizagi Enterprise JEE in a Development environment, click on the Bizagi Studio desktop shortcut as shown:
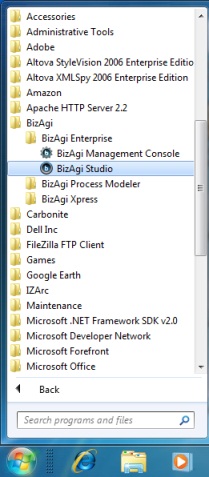
You may also launch Bizagi Studio by navigating through the Start menu:
View further information about Bizagi Studio.
View further information about setting up a project for team work with Bizagi.
To manage a Bizagi project in the Test or Production environment, launch Bizagi's Management Console.
View further information about Bizagi's Management Console.
To deploy your project into a JEE Application server different from JBoss (for example, WebSphere or Weblogic) or to deploy your project into another environment (Test or Production environment), follow the procedure described at deployment of Bizagi to a JEE App Server.
Related articles
- Installing Bizagi Enterprise .Net Edition
- Installing Bizagi Xpress Edition
- Connect to the database with an user other than sa
<comments />
